Since many types of images will require text, you may have already found that Photoshop has a text tool that you can use to add text. But when you want to underline text in Photoshop, you might be struggling to find that option since it’s not in as obvious a location as you might expect. Formatting the text that you use in a Photoshop image allows you to make your text appear exactly how you would like it. There are many different formatting options available to help you achieve your desired look, but one of the more common ones, the underline effect, may be a little difficult to locate. Our guide below will show you how to select and underline an existing text layer in your Photoshop CS5 image. You can even use the same method to enable the underline formatting before you start typing a new text layer.
How to Underline in Photoshop
Our article continues below with additional information on underlining text in Photoshop, including pictures of these steps. If you use Google Docs for text editing, then click here and find out how to use different formatting options in your document.
Add Underline to Text in a Photoshop CS5 Image (Guide with Pictures)
The steps below will assume that you have a Photoshop image with a text layer, and that you would like to format that text so that it appears to be underline. The method for underlining a new text layer is very similar to the steps below, except that you can skip the step where you need to select the text.
Step 1: Open your image in Photoshop CS5.
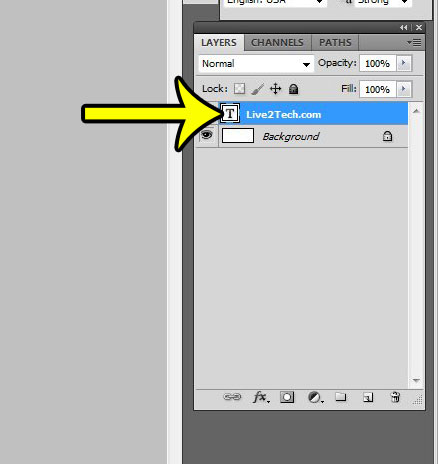
Step 2: Select the text layer from the Layers panel.
If you don’t see the Layers panel, you can display it by pressing F7 on your keyboard.
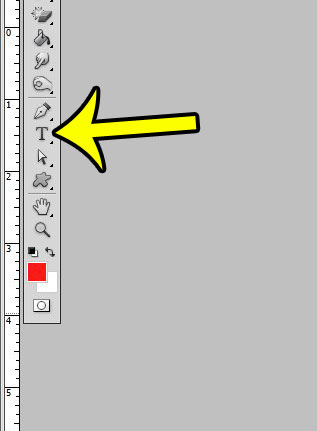
Step 3: Click the Text tool button in the toolbox.
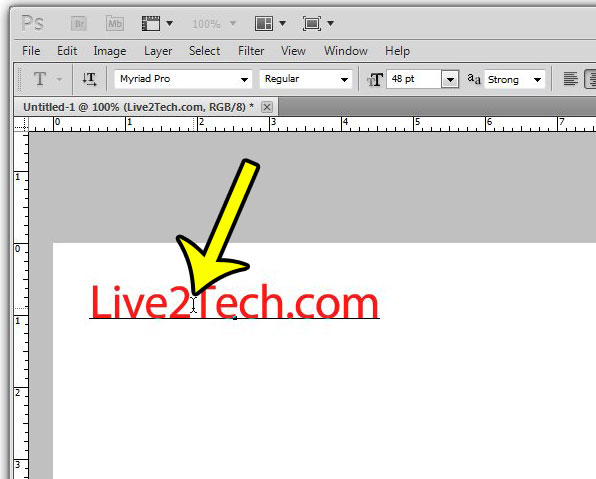
Step 4: Click in the middle of the text to which you would like to add the underline.
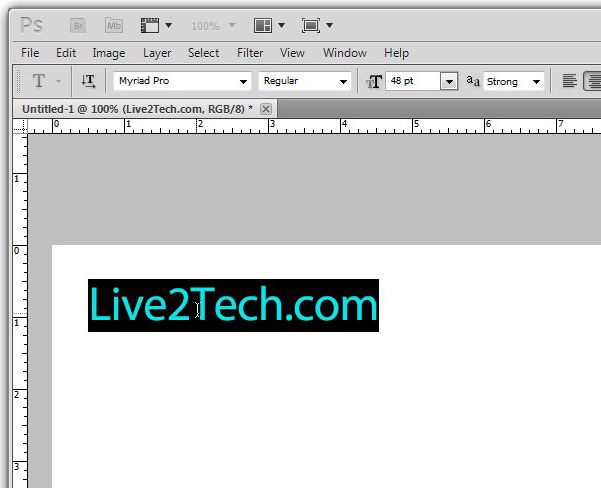
Step 5: Press Ctrl + A (or Command + A on a Mac) to select the entire text layer.
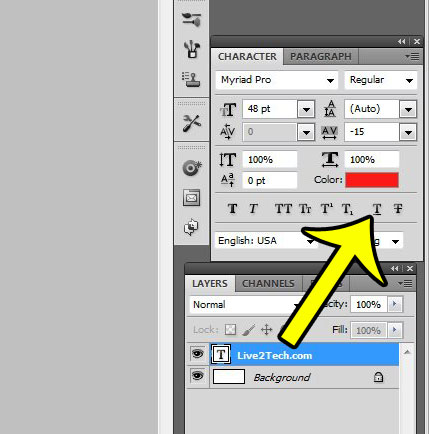
Step 6: Click the Underline button in the Character window.
If you don’t see the Character window, then you can display it by clicking Window at the top of the screen, then clicking the Character option. This article has more information if you are having trouble finding the Character window. If you are sending your image to someone and are worried that their computer might not have the necessary fonts, then it’s a good idea to rasterize your text layers. This will turn text layers into images, which will make it much more likely that your image text displays properly on other computers.
More Information on How to Underline Text in Photoshop
The steps in our guide above assume that you are trying to underline text in Adobe Photoshop, and that the text is part of a text layer. If you are trying to underline text that is rasterized, or is an image, then you will need to draw a line under that text instead. The text tool in the Adobe Photoshop toolbox is the one that looks like a “T.” If you are having trouble finding the underline button, it is located in the Character Panel, which is likely at the right side of the window. The Character panel can be toggled on or off by clicking Window at the top of the window, then choosing the Character option. If you change the font size of the underlined text then the underline will get thicker or thinner depending on whether you make the text size larger or smaller, respectively.
He specializes in writing content about iPhones, Android devices, Microsoft Office, and many other popular applications and devices. Read his full bio here.