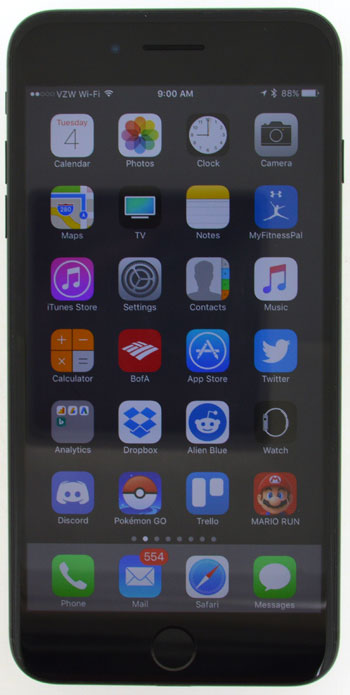
Our guide below will show you how to capture a screenshot on your iPhone. It’s a very convenient and intuitive way to image your iPhone screenand, once you are familiar with it, you will find that taking screenshots is a simple and effective way to save information.
How to Do a Print Screen on an iPhone 7
The steps in this article were performed on an iPhone 7 Plus, in iOS 10.2. Once you have finished these steps and taken the screenshot on your iPhone 7, you will have a new picture in your Camera Roll. The iOS 10 operating system also has a separate Screenshots folder where you can view only the images on your Camera Rolls that the iPhone has identified as a screenshot. While these steps are specifically for how to take a screenshot on an iPhone 7, this will work for other iPhone models as well, in other versions of iOS. Step 1: Adjust your iPhone screen so that the information that you want to include in the screenshot is visible.
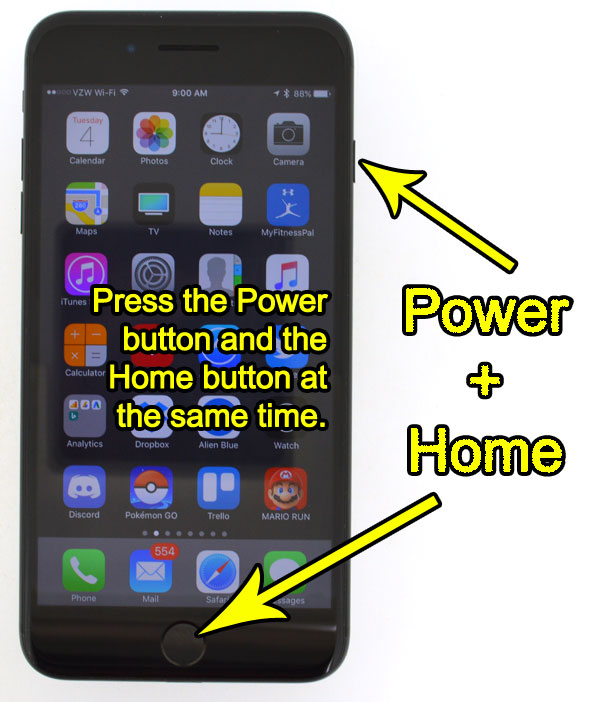
Step 2: Press the Power button and the Home button simultaneously to take a screenshot of your iPhone screen.
The screen will flash white and you will hear the camera shutter sound (if your sound is on) once you have taken the screenshot. As mentioned earlier, you can then browse to the Photos app and select either the Camera Roll or the Screenshots album to see the screenshot image. Running out of space on your iPhone? Learn how to delete junk files on your iPhone 7 and remove the file clutter that you don’t need or are no longer using. He specializes in writing content about iPhones, Android devices, Microsoft Office, and many other popular applications and devices. Read his full bio here.


