Fortunately this is a setting that you can adjust at any time, not just when performing the initial iPhone setup. Our guide below will show you where to find and change the Display Zoom setting on your iPhone 7 so that you can try out the other option.
How to Change the Display Zoom on an iPhone 7
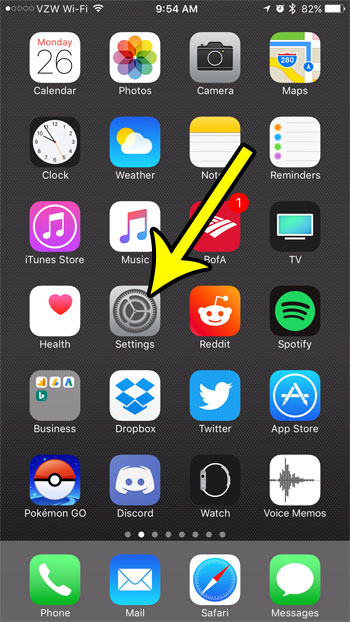
The steps in this guide were performed on an iPhone 7 Plus in iOS 10.3.2. Note that completing these steps will require you to restart your iPhone at the end. You can change this setting whenever you wish so, if you find after making the change that you prefer the old option, you can return to the menu in the steps below and select the other option to revert to the previous setting. Step 1: Open the Settings app.
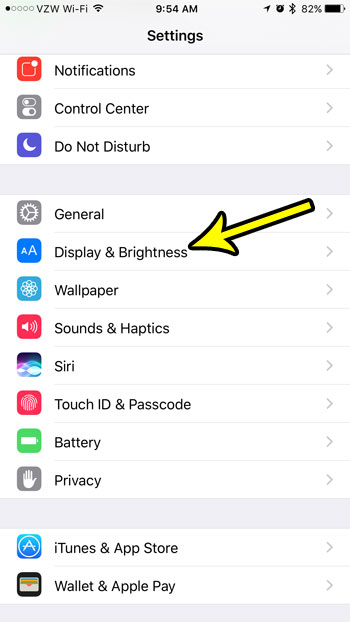
Step 2: Select the Display & Brightness option.
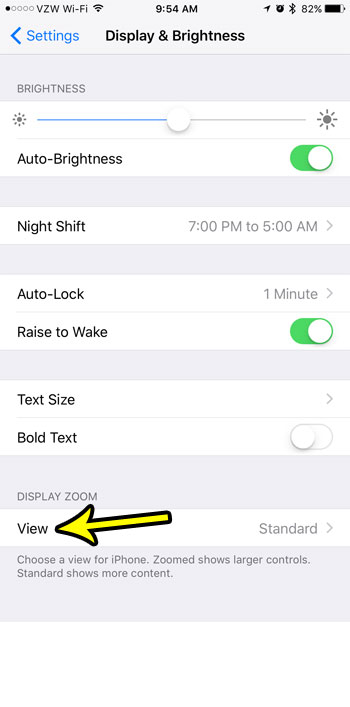
Step 3: Touch the View button under Display Zoom at the bottom of the screen.
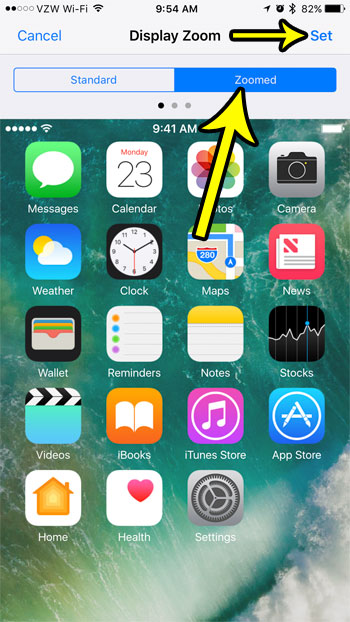
Step 4: Select the Standard or Zoomed option at the top of the screen, then tap the Set button at the top-right of the screen.
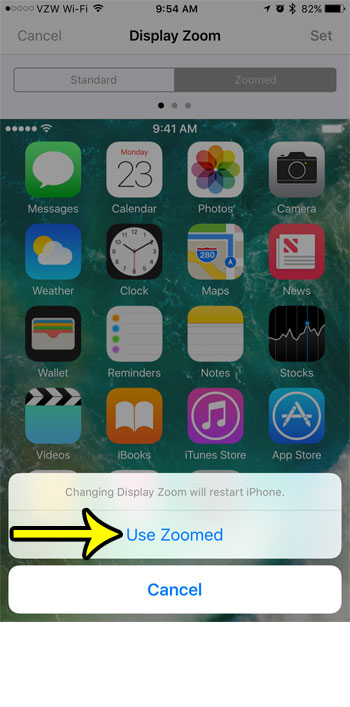
Step 5: Tap the Use Zoomed or Use Standard button at the bottom of the screen to complete your selection. As indicated by this popup, your iPhone will then restart.
Is your iPhone screen too bright, and you’re looking for a way to fix it that isn’t changing the Brightness level? Learn how to reduce the white point on your iPhone and see if the changes in color intensity make for a more enjoyable iPhone experience. He specializes in writing content about iPhones, Android devices, Microsoft Office, and many other popular applications and devices. Read his full bio here.