Many of them will need some minor adjustments before they reflect the look that you need in your document. If a picture that you would like to use is facing the wrong direction or is backward, then you can follow the steps in our tutorial below to learn how to rotate a picture in Google Docs.
How to Rotate a Google Docs Photo
Our article continues below with additional information on rotating pictures in Google Docs, including pictures of these steps. If you are working on a slideshow and want to make a picture transparent, then check out our how to change opacity in Powerpoint 2013 article to learn how. Do you have a picture in your document that is facing the wrong direction, or is upside down? While other options for resolving this issue might involve using another image editing program to adjust the image, you can actually use a tool in Google Docs to rotate the picture. Google Docs contains many of the same features that you find in desktop word processing applications like Microsoft Word. This is particularly beneficial if you have an image you want to rotate within a Google Doc and you don’t want to go through the trouble of making that edit in an image editing application. Our guide below will show you how to perform a rotation on a picture that you have added to your Google Docs document and get that image to the correct orientation for your document’s needs. If you have a square or rectangular image that you want to turn into a circle, then read our how to make a picture a circle in Powerpoint article for more information.
How to Turn a Picture in Google Docs (Guide with Pictures)
The steps in this article were performed in the desktop version of the Google Chrome Web browser, but will also work in other desktop browsers like Edge or Firefox. Note that rotating your picture in this manner could cause other document elements around the picture to become displaced.
Step 1: Sign into your Google Drive at https://drive.google.com and open the document containing the image that you want to rotate.
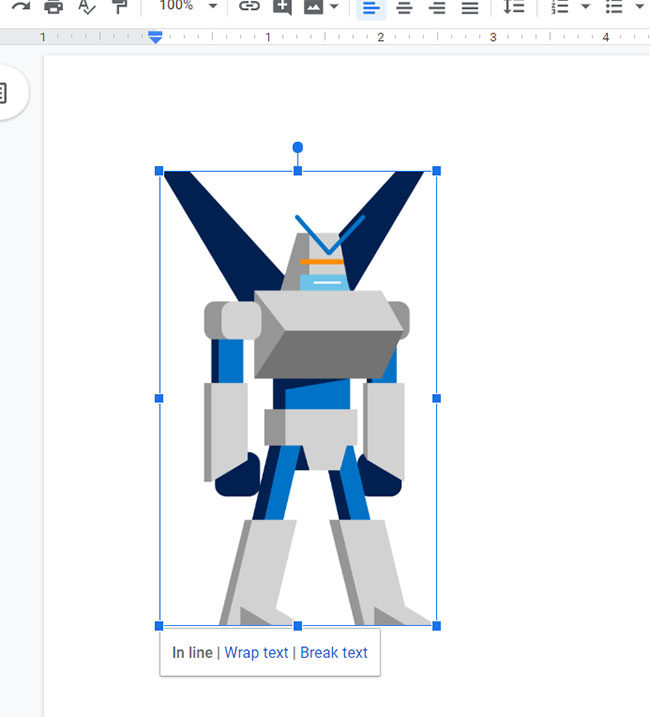
Step 2: Click on the image to select it.
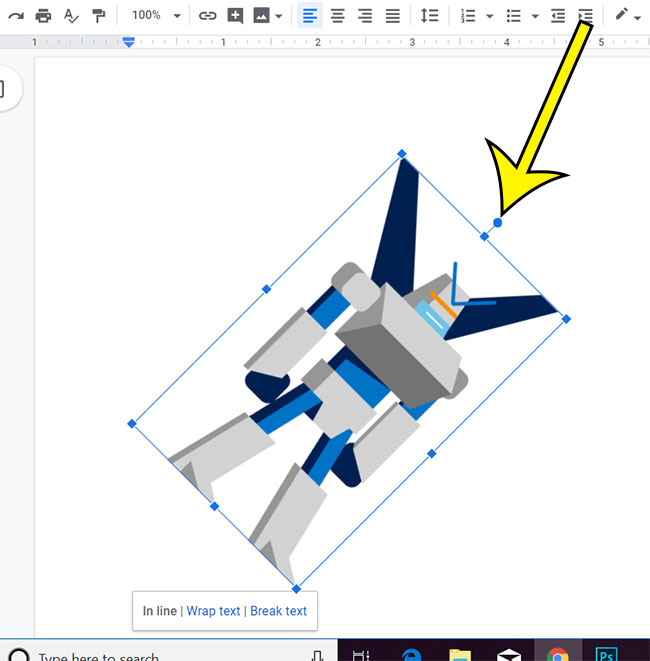
Step 3: Click and drag the blue circle above the image until you have rotated the image to its desired orientation.
Now that you know how to rotate an image in Google Docs you will be able to fix issues that can arise when you have images that are in the wrong orientation, or that you think would look better if they were facing in a different direction. Want to make your picture transparent? Find out how to use the Image options menu in Google Docs and increase or decrease the transparency of an image in your document.
More Information on How to Rotate an Image in Google Docs
The method described above is a simple way to rotate an image in Google Docs when you are able to achieve the desired result using a freeform rotation option. But if you would like to rotate by a specific amount, such as 90 degrees, then there is another method. Click on the picture, click Image options in the toolbar above the document, choose the Size & Rotation tab, then make rotation adjustments there. You can also right click on the image in your document and choose Image options from that menu instead to open the Image options menu. Note that when you rotate the image in Google Docs it can affect the layout of other document objects around the picture. This is particularly noticeable for images in Google Docs that have different length and width dimensions.
He specializes in writing content about iPhones, Android devices, Microsoft Office, and many other popular applications and devices. Read his full bio here.


