Our guide below will show you how to use one of the default font options in Word 2013 to apply this effect. You will be able to select the color, width, and style of the outline. You can use combinations of those options to obtain the look that you want.
How to Apply a Border Outline to Text in Word 2013
The steps in this guide are going to show you how to add a border to a text selection in your Word document. You will be able to choose the color of the border, as well as the thickness and the style of the outline. Note that you may also want to change the color of your original text if you aren’t getting the desired results with black text. Step 1: Open your document in Word and select the text to which you would like to apply the border outline.
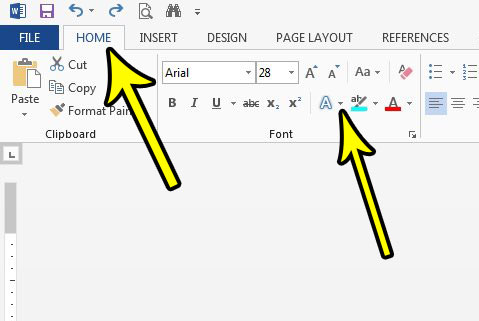
Step 2: Click the Home tab at the top of the window, then click the arrow to the right of the Text Effects and Typography button.
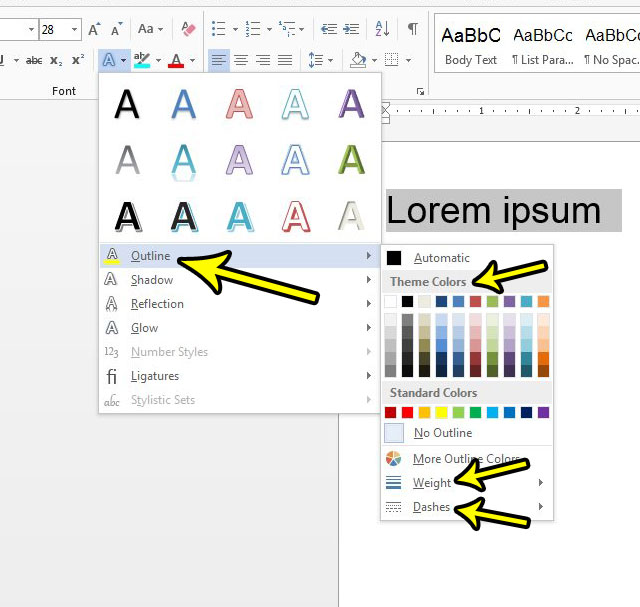
Step 3: Hover over the Outline option on this menu, then choose the color for the outline. You can then return here and select the Weight option to make the outline thicker or thinner, and you can select the Dashes option if you want to change the style of the outline.
Did you apply a lot of formatting changes to your document, but have decided that you want to clear all of them and start over? Or did you receive a document from someone else that has formatting options you are having trouble removing? Learn how to clear all formatting in Word 2013 and save yourself some time and frustration. He specializes in writing content about iPhones, Android devices, Microsoft Office, and many other popular applications and devices. Read his full bio here.