But changing the size of each column in a spreadsheet can be tedious, so you may be looking for a faster way to change the width of multiple columns. Our guide below will show you how to select your entire spreadsheet and simultaneously change the column width of every column that you have selected. Google Sheets provides a similar option. You can read our how to make all columns the same width in Google Sheets article to see how to do this in that application as well.
Change the Width of Multiple Columns in Excel 2013
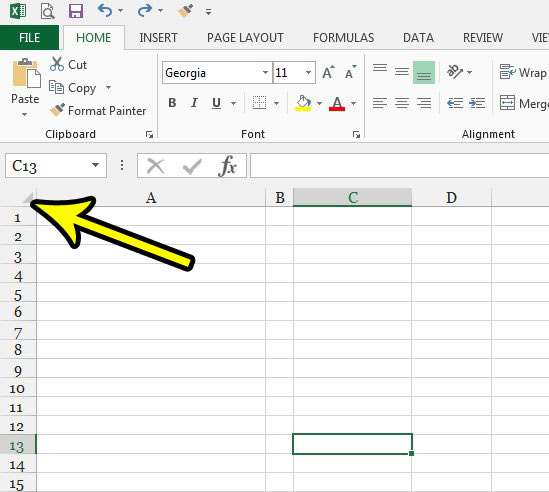
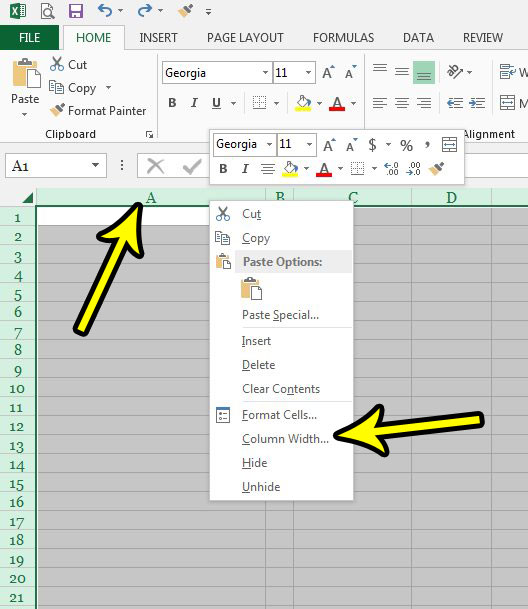
The steps in this article are going to show you a quick way to select all of the columns in your spreadsheet, then apply the same column width to all of those columns. Note that, depending upon the amount of data that is in your cells, this may cause some data to be hidden. Note that you can use a similar method to change the height of multiple rows instead. Step 1: Open your spreadsheet in Excel 2013. Step 2: Click the cell above the row 1 heading, and to the left of the column A heading. This select the entire spreadsheet. If you only want to change the width of some of your columns, then you can manually select them by holding down the Ctrl key on your keyboard as you click each column letter. Step 3: Right-click on any selected column letter, then choose the Column Width option. Step 4: Enter your desired column width into this field, then click the OK button. The default column width is 8.43, but you can use any value that you would like. Are you having trouble getting your spreadsheet to print properly? Check out our Excel print guide for some tips and tricks that can make printing your data a little easier. He specializes in writing content about iPhones, Android devices, Microsoft Office, and many other popular applications and devices. Read his full bio here.