Luckily Powerpoint 2013 has its own built-in picture editing tool, which you can use to crop an image that you have added to a slide. Our tutorial below will walk you through the process of selecting a picture and cropping it to the desired appearance that your presentation requires. You can also check out our guide on how to make a picture a circle in Powerpoint if you want to crop your image into a different shape.
Cropping Pictures in Powerpoint 2013
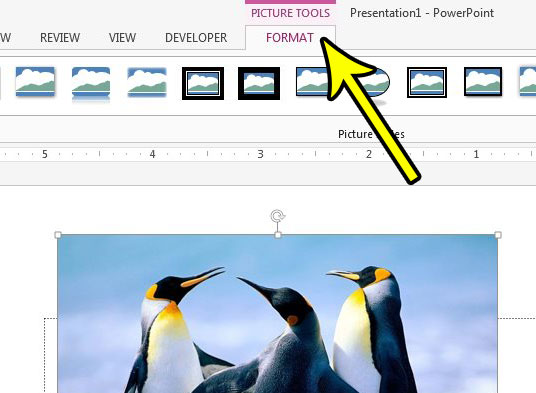
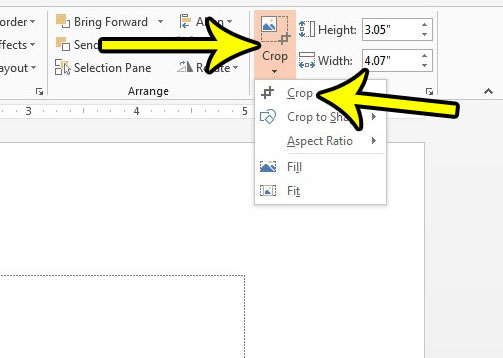
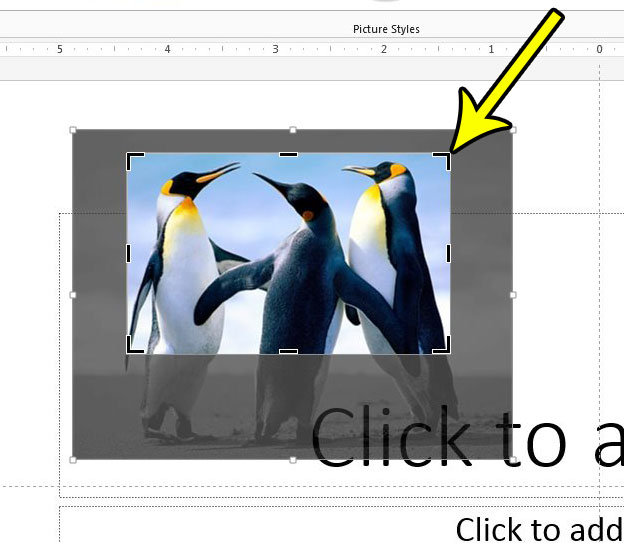
The steps in this article were performed in Powerpoint 2013, but will also work in Powerpoint 2010 and 2016. Note that this guide assumes that you have already added a picture to your slide, and that this is the picture that you want to crop. If not, you may add a picture from the Insert tab. Step 1: Open your presentation in Powerpoint 2013. Step 2: Click the picture that you want to crop. Step 3: Select the Picture Tools tab at the top of the window. Step 4: Click the Crop button in the Size section at the right end of the ribbon, then select the Crop option from that dropdown menu. Step 5: Drag the black borders around the picture until the part of the image that you wish to keep is selected. You can then click on a different spot in the slide to exit the cropping view and see how the cropped picture looks on the slide Did you add a picture to your slideshow, only to find that you don’t need it? Learn how to delete a picture in Powerpoint 2013 and remove it from the slide. He specializes in writing content about iPhones, Android devices, Microsoft Office, and many other popular applications and devices. Read his full bio here.