If you would prefer to simply revert to the default formatting for those cells so that you can start fresh, then there is a way to do so. Our guide below will show you how to select a group of cells in the spreadsheet and remove the formatting from them.
How to Remove Formatting from Cells in Excel 2013
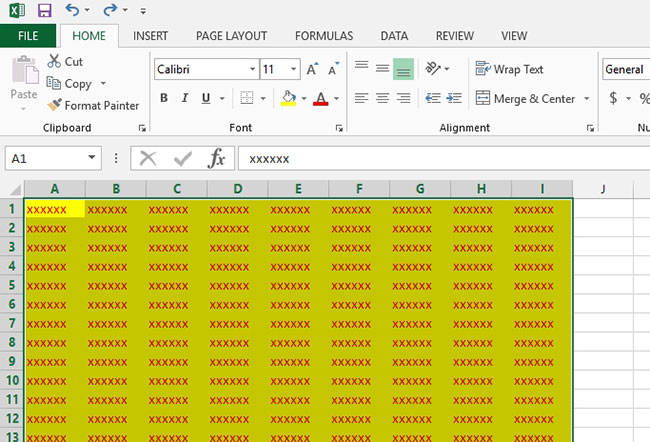
The steps in this article were performed in Excel 2013, but will also work in Excel 2010 and Excel 2016. Once you have completed these steps, all of the formatting in your selected cells will be removed and returned to the default settings. Step 1: Open your spreadsheet in Microsoft Excel 2013. Step 2: Select the cell(s) for which you would like to remove the formatting. You can click the button above the row 1 heading and to the left of the column A heading to select the entire spreadsheet. You can also select an entire row or column by clicking its heading.
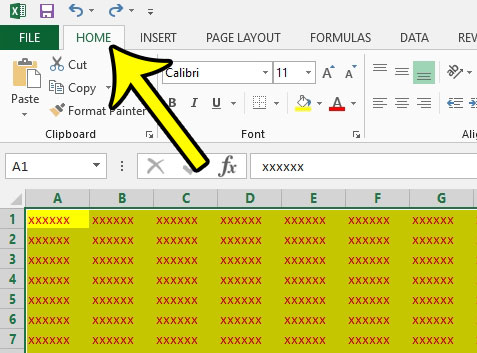
Step 3: Click the Home tab at the top of the window.
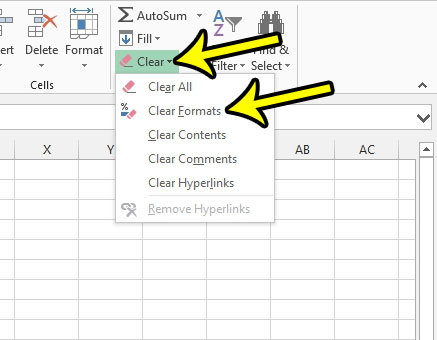
Step 4: Click the Clear button, then click the Clear Formats option.
Are you printing your spreadsheets, but there are issues that you are having trouble resolving? Read about some of the most common settings and tips that you can adjust to make your spreadsheet print a little better. He specializes in writing content about iPhones, Android devices, Microsoft Office, and many other popular applications and devices. Read his full bio here.