One area where you might be particularly concerned about your spelling is when you are sending emails in Outlook. You may occasionally use the spell check utility, but there is another option that you can enable in Outlook 2013 that will cause the program to automatically spell check any message that you write, before you send it. So continue reading below to see how you can enable this setting.
How to Spell Check Before Sending in Outlook 2013
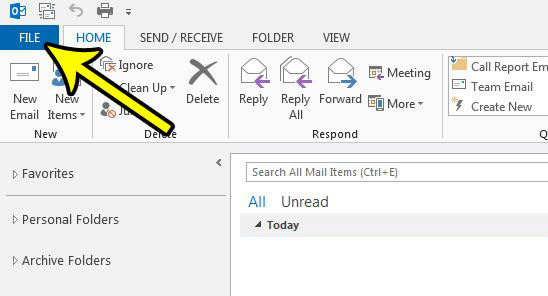
The steps in this article were performed in Microsoft Outlook 2013. Once you complete these steps your version of Outlook will automatically spell check every email that you write, before you send it. Step 1: Open Outlook 2013. Step 2: Click the File tab at the top-left corner of the window.
Step 3: Click the Options button at the bottom of the column on the left side of the window.
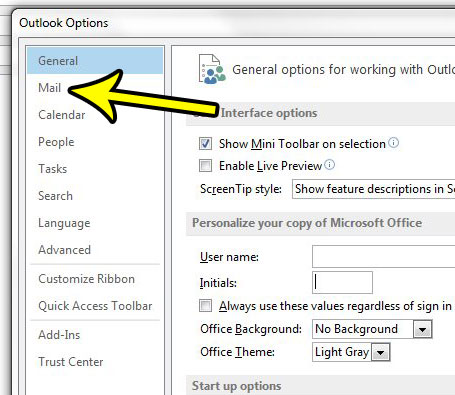
Step 4: Click the Mail option in the left column of the Outlook Options menu.
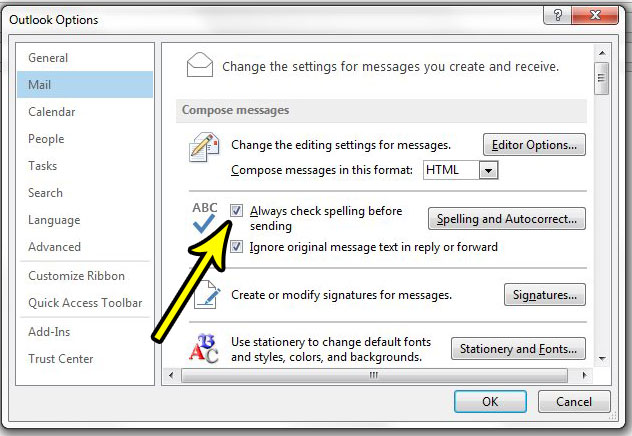
Step 5: Check the box to the left of Always check spelling before sending, then click the OK button at the bottom of the window.
Do you find yourself often doing a manual send and receive? Learn how to adjust the send and receive settings in Outlook 2013 if you feel that it isn’t checking for new messages as often as you would like. He specializes in writing content about iPhones, Android devices, Microsoft Office, and many other popular applications and devices. Read his full bio here.