This includes things like pictures, objects, and text boxes. By incorporating combinations of these various elements you can typically create the information that you want to share or present to others. Perhaps the most commonly used object is the text box. Many of the default slide layouts that you can use in Google Slides will provide a text box or two by default, but you may discover that you want to add additional text boxes. Our guide below will show you how to add a textbox in Google Slides.
How to Insert a Textbox in Google Slides
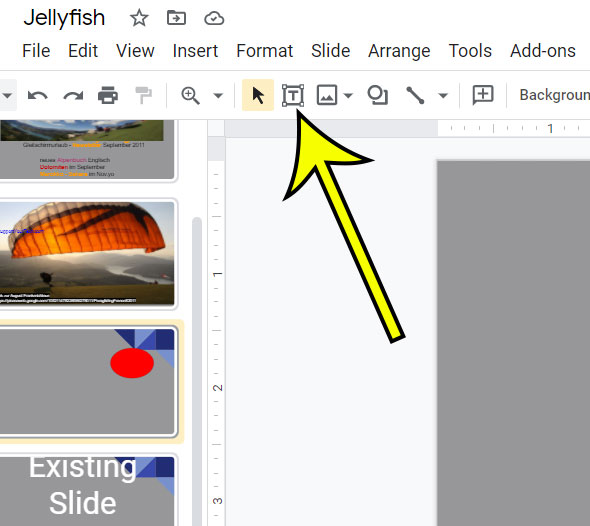
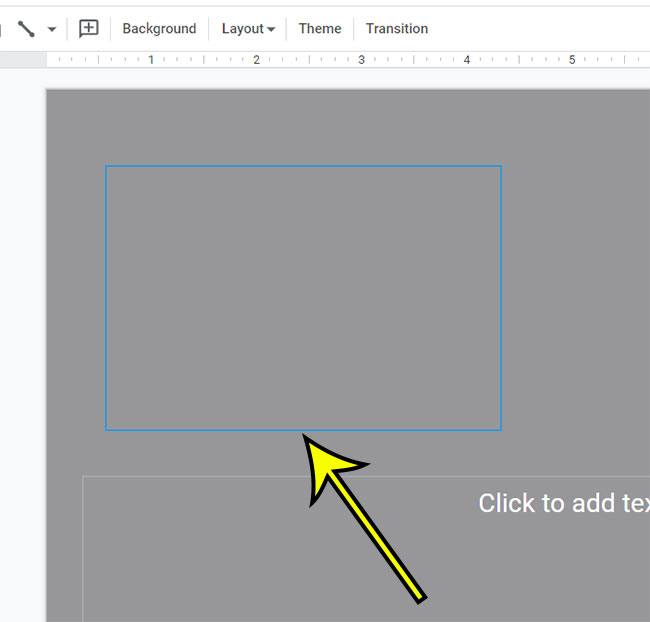
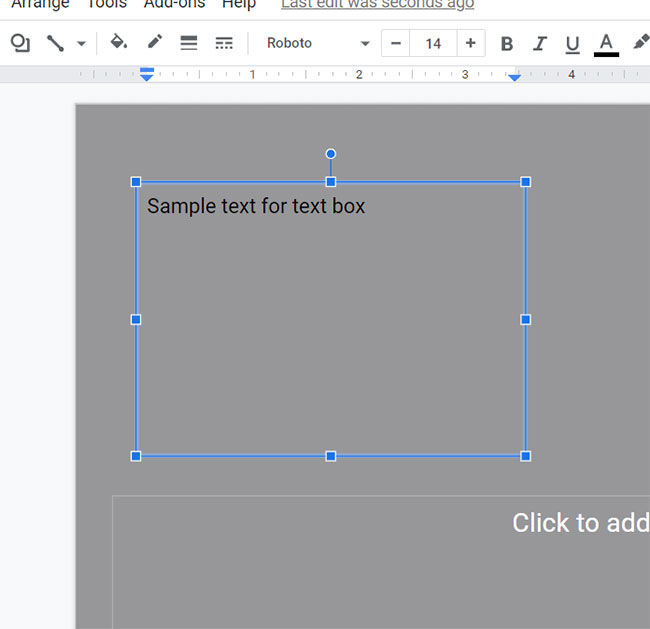
The steps in this article were performed in the desktop version of the Google Chrome Web browser, but will also work in other desktop browsers like Edge or Safari. Step 1: Sign into Google Drive and open your Slides file. Step 2: Choose the slide to which you wish to add a text box. Step 3: Click the Text box button in the toolbar above the slide. Step 4: Click on the slide and drag the text box border to the desired size. Step 5: Enter your text. You can also insert a textbox in Google Slides by choosing Insert > Text box at the top of the window. If you need to reposition or resize the text box you can use the controls that become visible when the text box is selected.
Additional Reading
How to copy a slide in Google SlidesHow to make a picture transparent in Google SlidesHow to print Google Slides with notesHow to change font in Google SlidesHow to hide slides in Google Slides
He specializes in writing content about iPhones, Android devices, Microsoft Office, and many other popular applications and devices. Read his full bio here.